
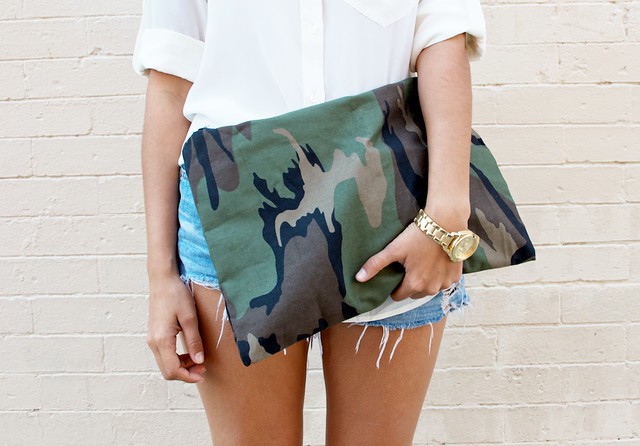
Make yourself the Como Trend C/O A PAIR AND A SPARE BLOG
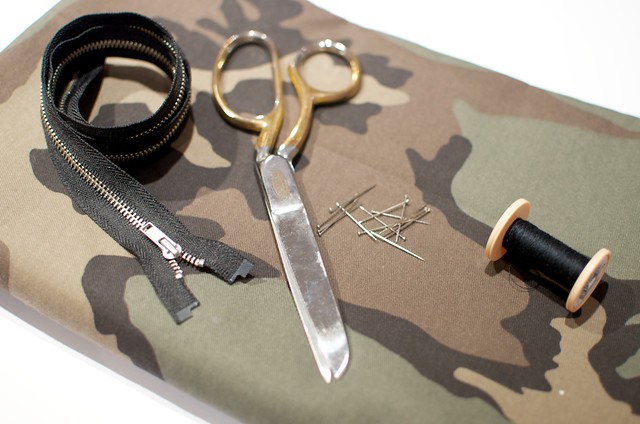
You need:
- Camo fabric
- A zipper
- Scissors
- Pins
- Thread
- A sewing machine (can also be done by hand)
1. Start by cutting your fabric to size - do this by checking the length of the zipper to determine the width of your bag.
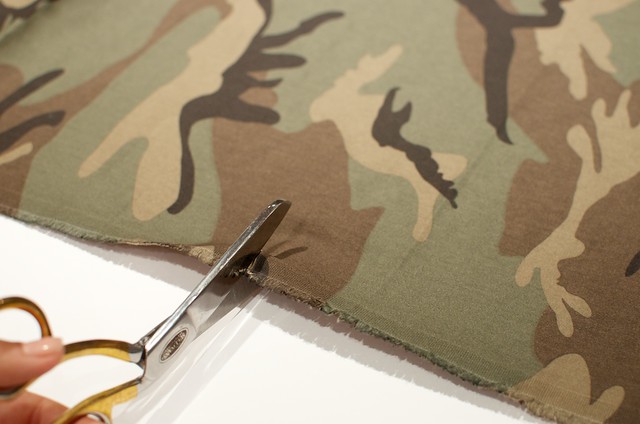
2. You want your zipper to be just a little bit bigger than the clutch.
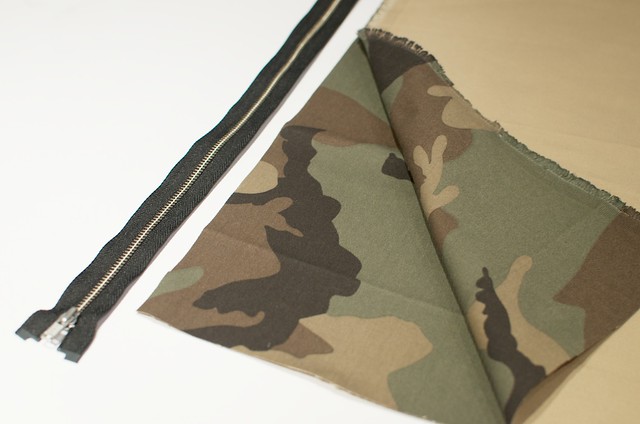
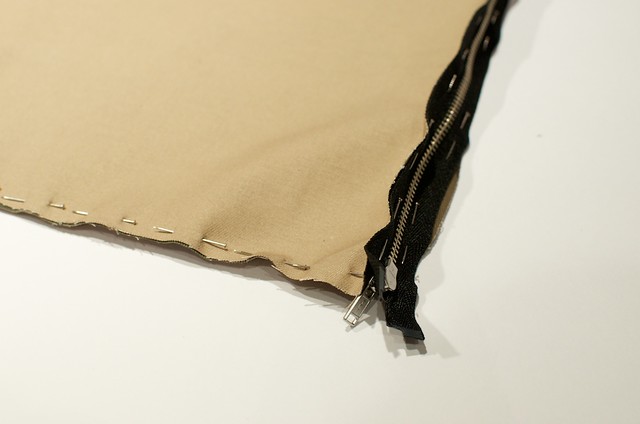
3. Start by pinning the zipper onto one side of the fabric. How you pin it is very important.Start with the fabric right side up and place the zip on to right side down, then pin along the edges of the fabric.
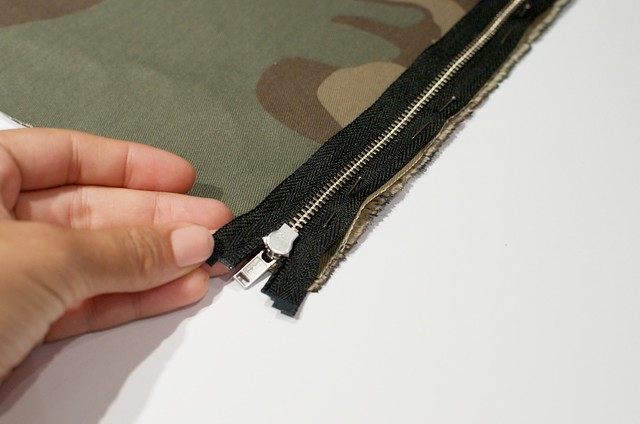
4. You should then be able to flip the fabric over so the raw edges of the fabric and zip are folded inside.
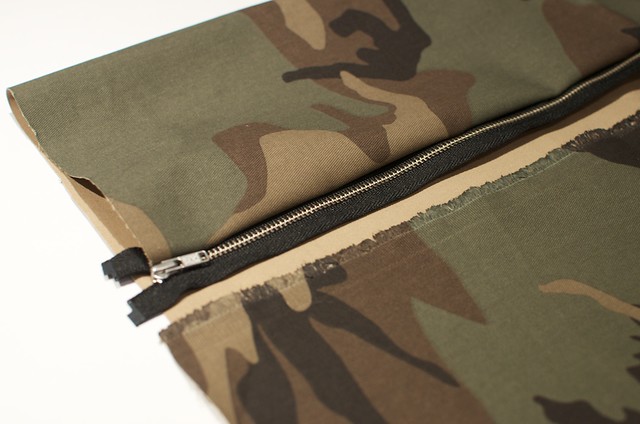
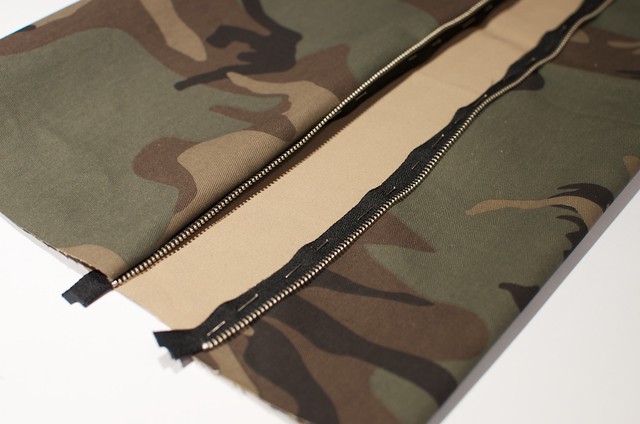
5. Now open the zipper and pin the other side of the zip onto the other side of the fabric in a similar way.
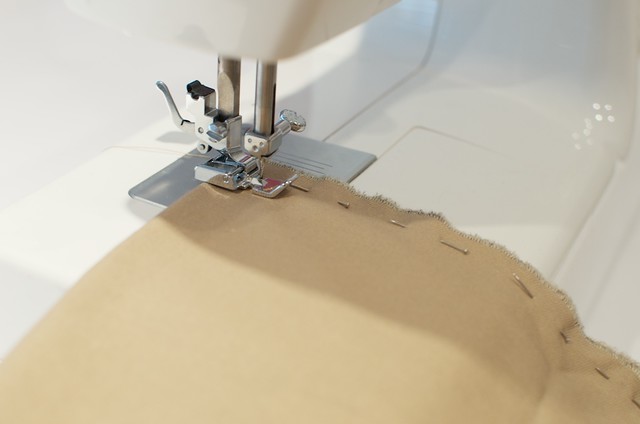
6. Turn the fabric inside out and pin the side edges together.
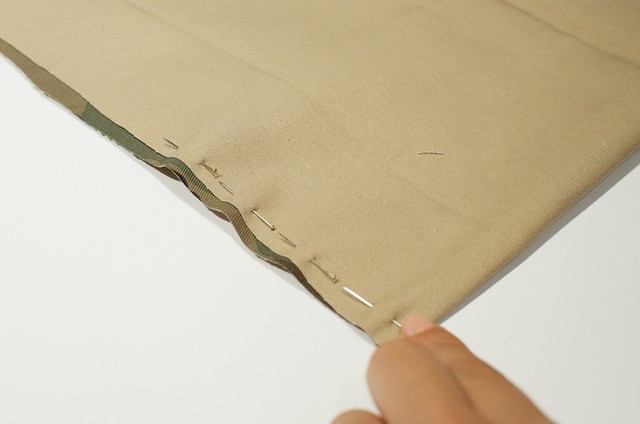
7. Pin all the way to the zippered edge.
8. Sew all the pinned edges using your machine or by hand.
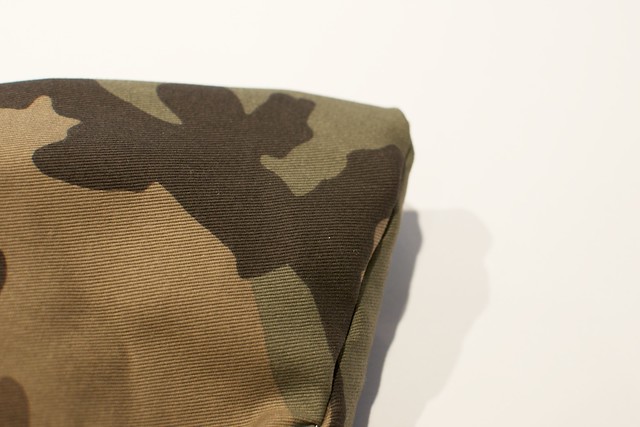
9. Turn the bag inside out once you have sewn the zipper and then iron to complete, tucking any extra lentgh of zipper into the ends of the bag if required.
Sew simple! (urgh, apologies, is there anything worse than sewing puns?)

No comments:
Post a Comment