
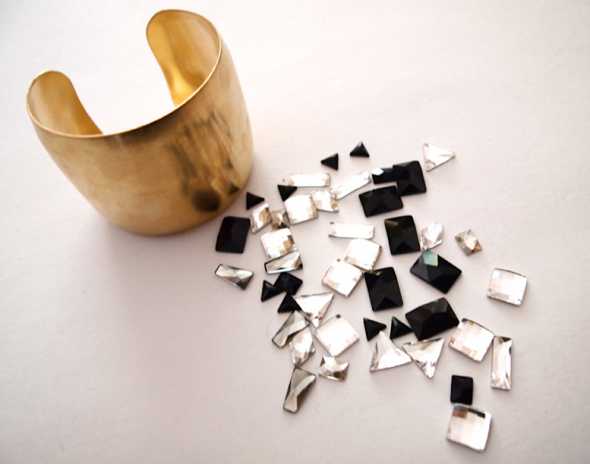
Materials: A Metal Cuff (or Bracelet), Flat Back Crystals from SWAROVSKI CRYSTAL, Glue
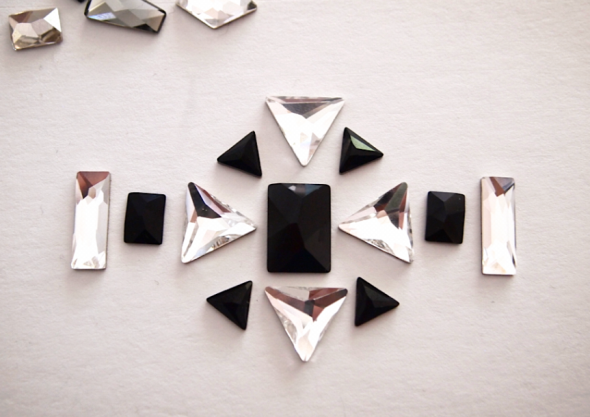
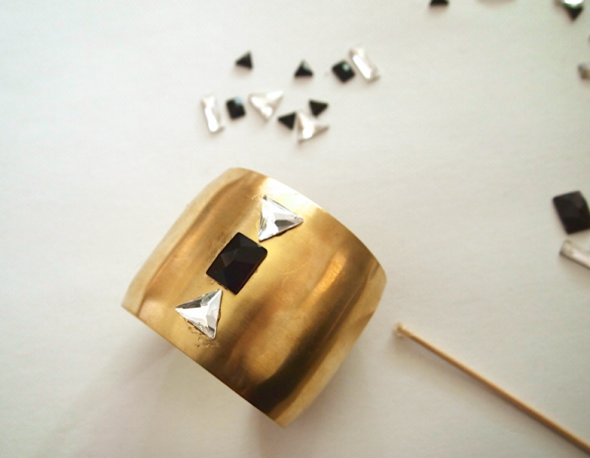
First lay out design
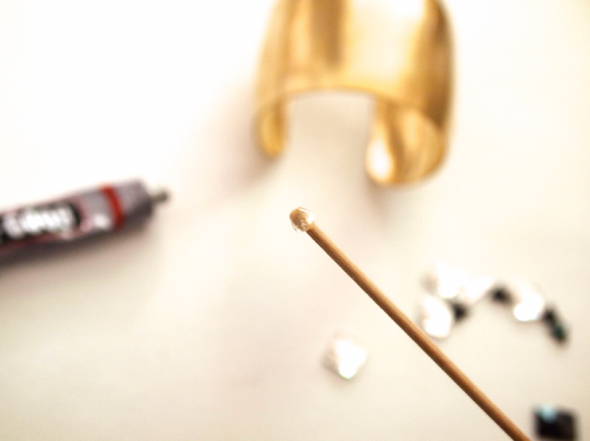
Use a tooth pick for the application of glue behind the crystals to avoid making a great all mess
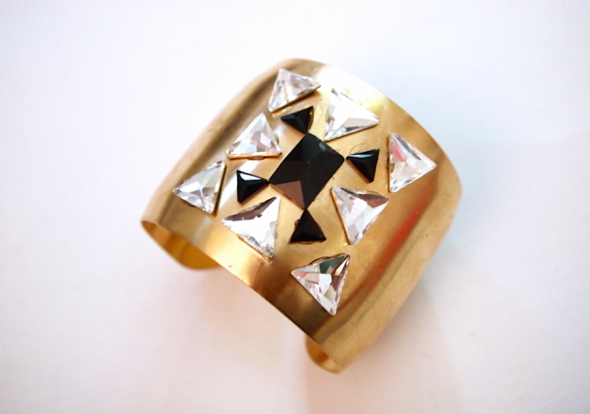
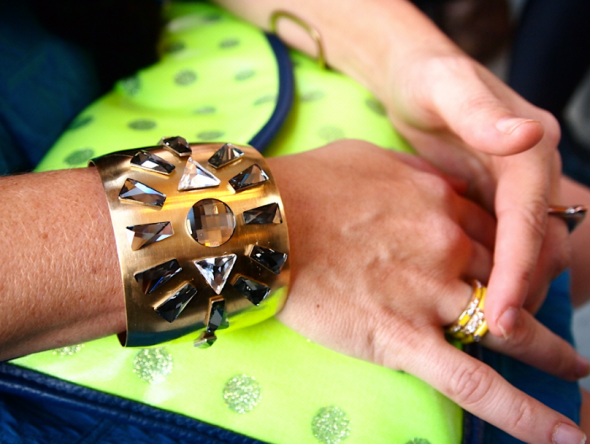
VOILA! You have yourself a stylish cuff.
images courtesy of Glitter and Glue
No comments:
Post a Comment